Hip Surgery Survival Hacks (Especially For Those Who Live Alone)
So...you, too, huh? You're going to have (or thinking about having) hip arthroscopy?
I am 10 days into my recovery from my first hip surgery. I've previously had four knee surgeries and I'm slowly learning this is a whole new ball of wax. A few days before my surgery I went online to look for "tips" to help with recovery and didn't find much. Every day I am figuring out new things, so I figure I might as well share them in case I can help someone else. I'll mention a little about the procedure I had done and then on to some things that I've found really helpful in the days since surgery.
The surgery was on my right hip (so right off the bat that means I can't drive for 6 weeks). Because of a pretty significant area of cartilage loss, I saw two different surgeons--one who does arthroscopy and one who does an open procedure--and debated over which type of surgery I should go with. I opted for the less invasive arthroscopy and hope I will see some improvement in my pain and mobility. The surgeon repaired a torn labrum, removed some loose bodies in the joint, fixed the cam impingement, and attempted to do a microfracture. She couldn't do the microfracture because the site wasn't accessible by her tools in an arthroscopic procedure.
My recovery instructions: wear the hip brace all day every day, use crutches with practically no weight-bearing on my operated leg, don't sit with my hip at a 90 degree angle for more than 30 minutes. I couldn't shower for the first five days.
For the first 5 days after surgery, my parents were staying with me. While I may have wanted to do things for myself then, I didn't necessarily have to. But I've now been on my own for the past 5 days. Some things have been extremely invaluable in my recovery while being on my own.
1) The Dragon Reacher:




I am 10 days into my recovery from my first hip surgery. I've previously had four knee surgeries and I'm slowly learning this is a whole new ball of wax. A few days before my surgery I went online to look for "tips" to help with recovery and didn't find much. Every day I am figuring out new things, so I figure I might as well share them in case I can help someone else. I'll mention a little about the procedure I had done and then on to some things that I've found really helpful in the days since surgery.
The surgery was on my right hip (so right off the bat that means I can't drive for 6 weeks). Because of a pretty significant area of cartilage loss, I saw two different surgeons--one who does arthroscopy and one who does an open procedure--and debated over which type of surgery I should go with. I opted for the less invasive arthroscopy and hope I will see some improvement in my pain and mobility. The surgeon repaired a torn labrum, removed some loose bodies in the joint, fixed the cam impingement, and attempted to do a microfracture. She couldn't do the microfracture because the site wasn't accessible by her tools in an arthroscopic procedure.
My recovery instructions: wear the hip brace all day every day, use crutches with practically no weight-bearing on my operated leg, don't sit with my hip at a 90 degree angle for more than 30 minutes. I couldn't shower for the first five days.
For the first 5 days after surgery, my parents were staying with me. While I may have wanted to do things for myself then, I didn't necessarily have to. But I've now been on my own for the past 5 days. Some things have been extremely invaluable in my recovery while being on my own.
1) The Dragon Reacher:
This little bugger has been so handy! Since I can't bend at the hip more than 90 degrees, I can't reach my feet or pick up things off the floor. These restrictions automatically make it seem like I'm dropping things more frequently, which is probably not true. I have used the dragon (as I affectionately call it) to even put on my socks (it takes quite a bit of effort, plus assistance from my good foot, but I've made it work). There's a hole in the handle so I could loop a string through if I wanted. I find that I'm able to hold this by the hand while I'm using my crutches, so I haven't utilized that feature.
2) Raised Toilet Seat:
Seriously.
This is not a purchase I wanted to make, but it's been crucial. If you're having hip surgery, just get one. If you have good balance and good strength in your non-operated leg and the toilet is next to the vanity, I don't think you need anything more than just the seat. But if there's nothing next to the toilet, you might want to look at some handles to help you out in addition to the raised seat.
It was a soul-crushing experience to have to buy this at the age of 37, but it has proved to be a wise purchase.
There are a billion to choose from, but try not to fret too much over it. I purchased mine from a home health store. Ultimately, I went for what was cheapest.
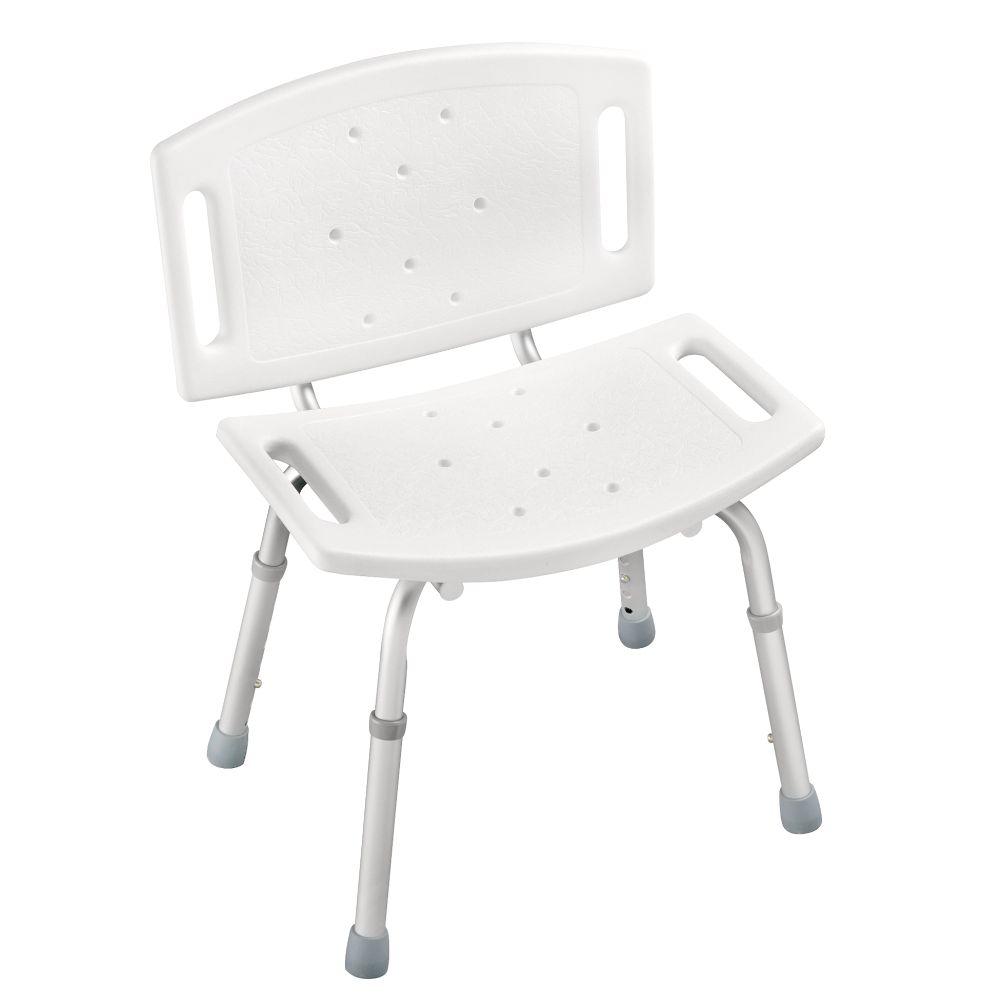
3) Shower Seat
Yup. Another must-have. And another item where there are a billion options. First thing is to know the dimensions of your shower/tub. I didn't know mine when I was in the store, so I was choosing based on my confidence that it would fit. Since I can't put weight on my right leg for at least 2 weeks, there was no way I was going to be able to shower while standing up. There are lots of frills and variations when it comes to these seats. Again, I went for something simple and cheap.
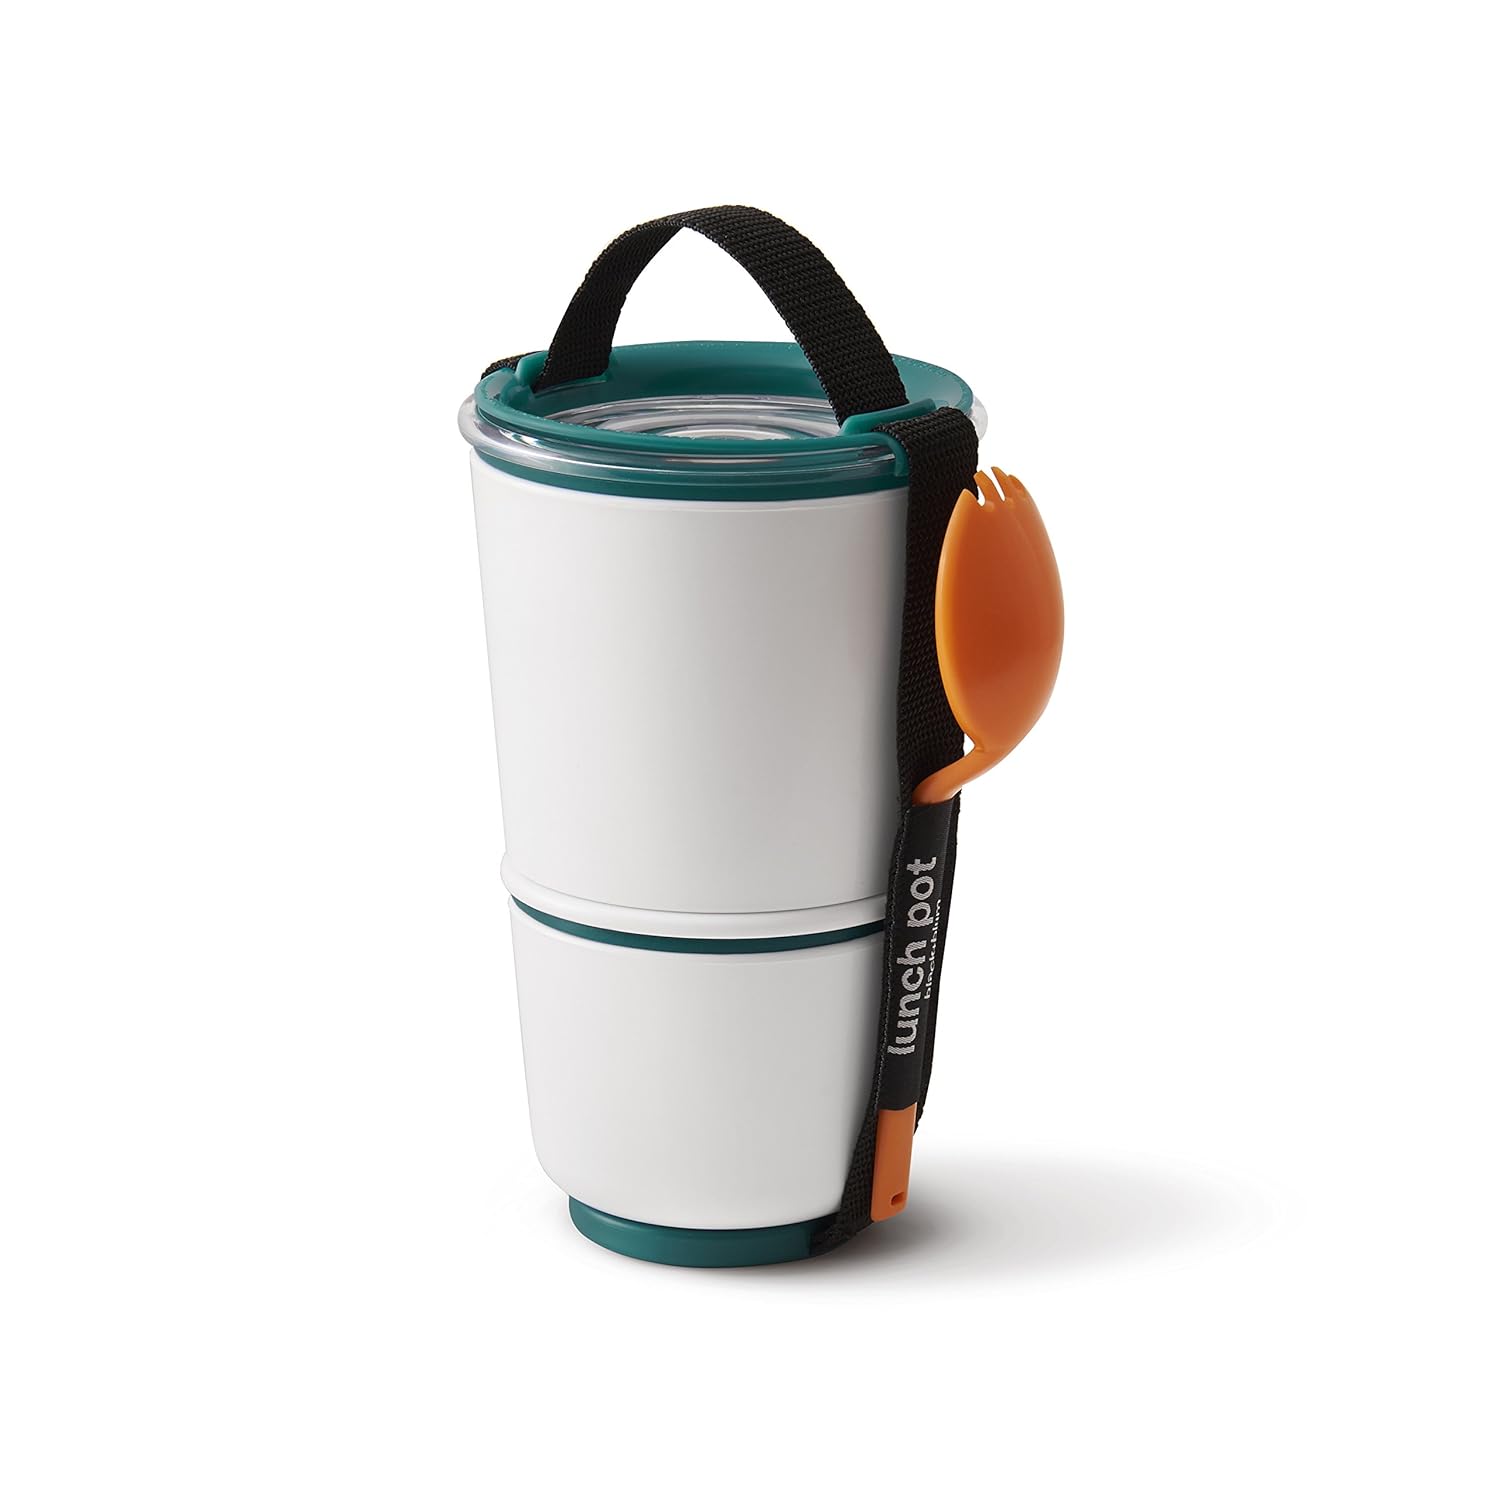
4) Black + Blum Lunch Pot (or anything similar with a handle)
I've had this for several years now, but once I was on my own for eating after surgery, I realized how helpful this item could be. I can carry a variety of things that have a handle/carry loop when I'm using crutches. This two-cup stacking system allowed me to take food from the kitchen to my living room where I could sit down and eat. For meals, I sometimes put containers in a paper bag with a handle and carry it like that to the living room. While on two crutches, there's just no possibility for carrying any dishes over to a table to sit down and eat. Having a plan for how to transport food is important! Otherwise you'll be eating meals in the kitchen while standing on one leg.
5) Slippers (and maybe convertible shoes)

I've already established that bending at the waist and reaching my feet is out of the question. This means I need to be able to slip my feet in and out of shoes. In addition to having a comfy pair of slippers to wear around the house, I cut off the backs on a pair of old running shoes. These are the shoes I wear to physical therapy and the ones I put on when I want to take a walk outside. More than one physical therapist at the clinic has already remarked they've never seen anyone else do this. It took some effort and patience, but I'm glad I did it. I used a utility knife and made a vertical cut right around where the ankle would be. And then I cut along the sole to separate the back of the shoe. Being able to slip my feet right in these shoes (which have my orthotics inside) makes things so much easier when I need to go outside.
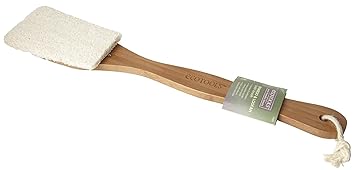
6) Bath Sponge on a Stick
They're cheap. I got one at the grocery store and don't regret it at all.
7) Water Bottle with a Carrying Loop
Pick a bottle. Any bottle. Just make sure it has some sort of loop or handle at the top. I have a 40 oz. Camelbak Chute. I'm able to fill it up and carry it by the loop while using my crutches. Its large capacity lasts me a good while, so I have to make few fill ups during the day.
Other things . . .
Think about your base of operations:
Where will you spend the majority of your time during the first two weeks of recovery? Where are you going to put your crutches so as to avoid laying them on the floor?
Get a side table so you can have essential items close by and have an extension cord already setup and available on the side table, so you can plug in electronics without having to reach down.
Make sure essentials are within reach in the kitchen and bathroom.
Recruit help for passive motion exercises:
The absolute hardest part has been getting people who can come over and help me with the passive motion exercises I'm supposed to do three times a day. Surgeons have different protocols for recovery, but my surgeon wants me to have someone move my leg around three times a day. I think I have done a pretty impressive job of taking care of myself while on my own....and yet, there are things I simply cannot do for myself. So if you're on your own, start recruiting early for folks who can come over and lug around your dead weight leg.
If you have a bike trainer or stationery bike:
My doctor allows for me to get on a stationery bike the day after surgery. Though I have a road bike set up on a Cycleops trainer, my pre-surgery inspection made me realize it would be impossible for me to get on the bike after surgery. The height of the seat and top tube prevented me from taking a seat without putting weight on my operated leg. BUT in physical therapy I went to use the stationery bike and the PT brought over a wooden step for me to step up onto with crutches before taking a seat on the bike. Voila! That made all the difference! So if you have a stationery bike or a bike trainer at home and would like to use them in recovery, get a little step you can set up next to it. Test it out before surgery. It may take a little acrobatics, but can be extremely helpful if you can make it happen.


Comments
Post a Comment